You would think owning 2 Firespray-31 patrol and attack crafts would be enough for most people. However I've since repainted one as Krasis Trelix (see here) and the other as Kath Scarlet (see here). This means that I was missing from my collection the greatest bounty hunter of them all: Boba Fett.
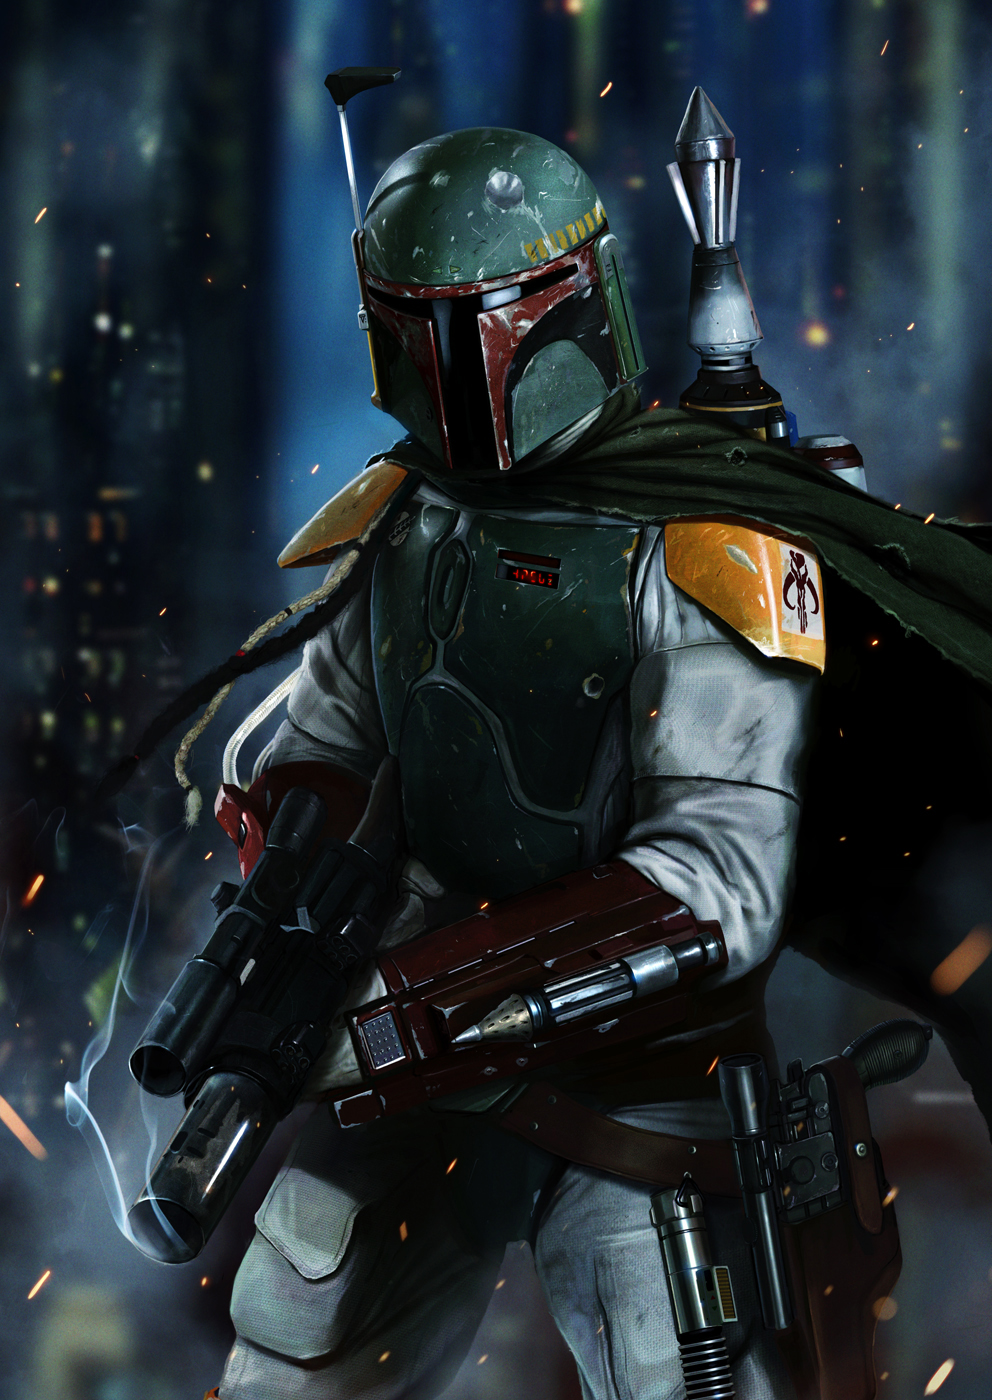 |
| This guy will Fett you up good... |
I had to bide my time until I could find another one on sale. These things are out of stock all the time. What gives!? When it arrived I promptly put paint to model for a (partial) repaint of my 3rd Firespray. Read on to see how it turned out.
The Partial Repaint
Given that the factory paint scheme is suppose to be Boba Fett but for some strange reason they used greys in place of greens, the model didn't actually require a full repaint. It just needed a few corrections and touch ups.
Like always, I did a few quick interweb searches for the actual paint scheme for Boba Fett's ship and of how other people have done his repaint. I wanted to make mine to be as movie accurate as possible so I used pictures from the movie as reference when painting.
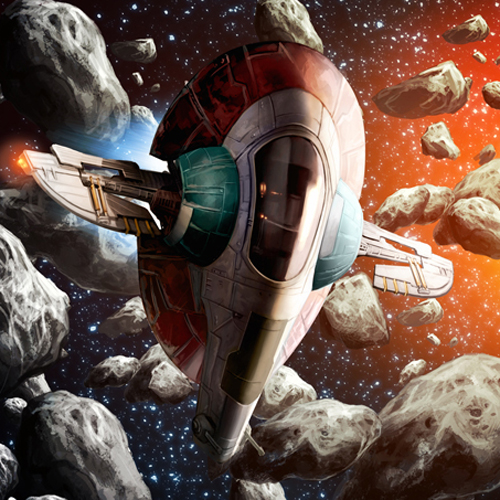
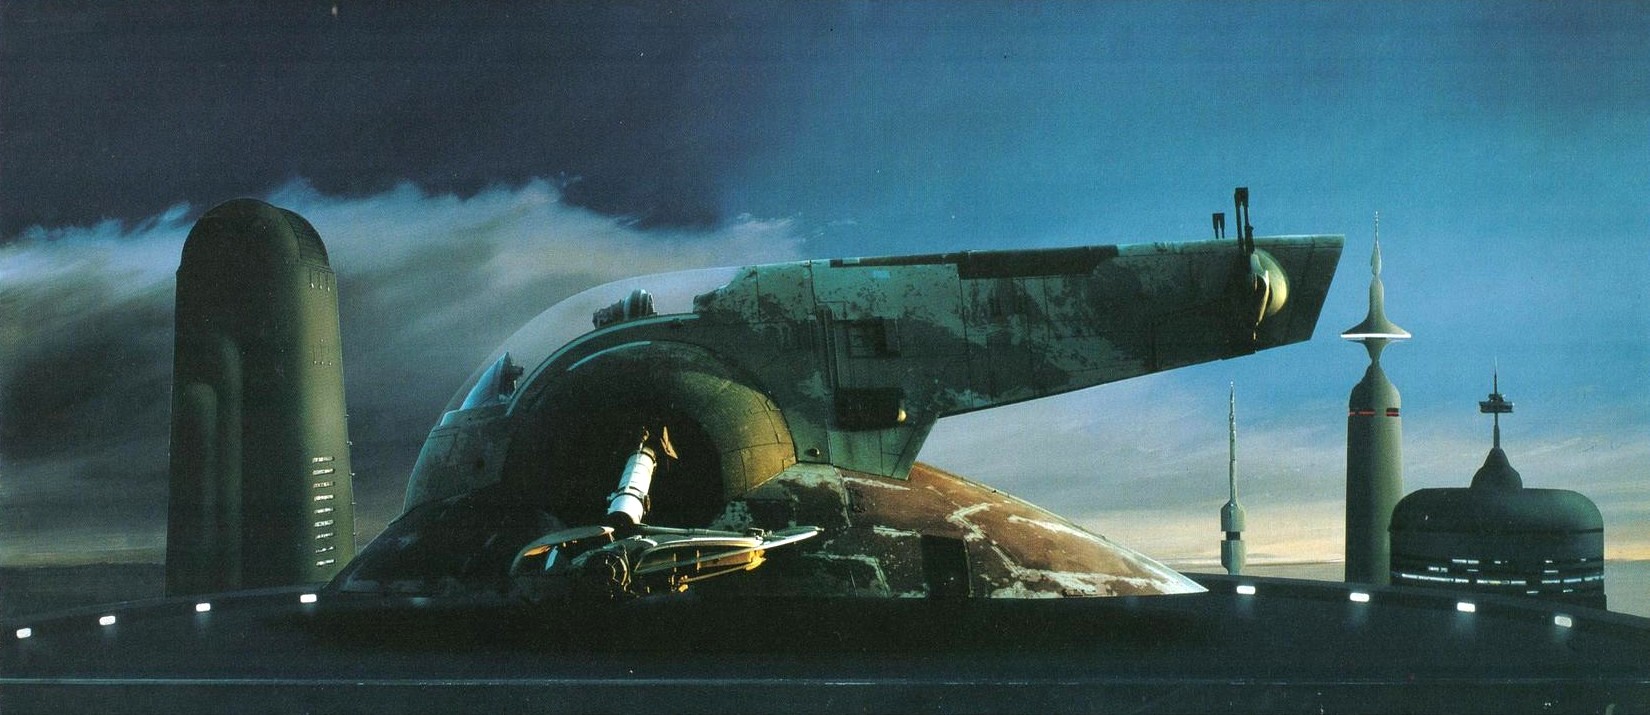 |
| The official paint scheme |
The Clean Up
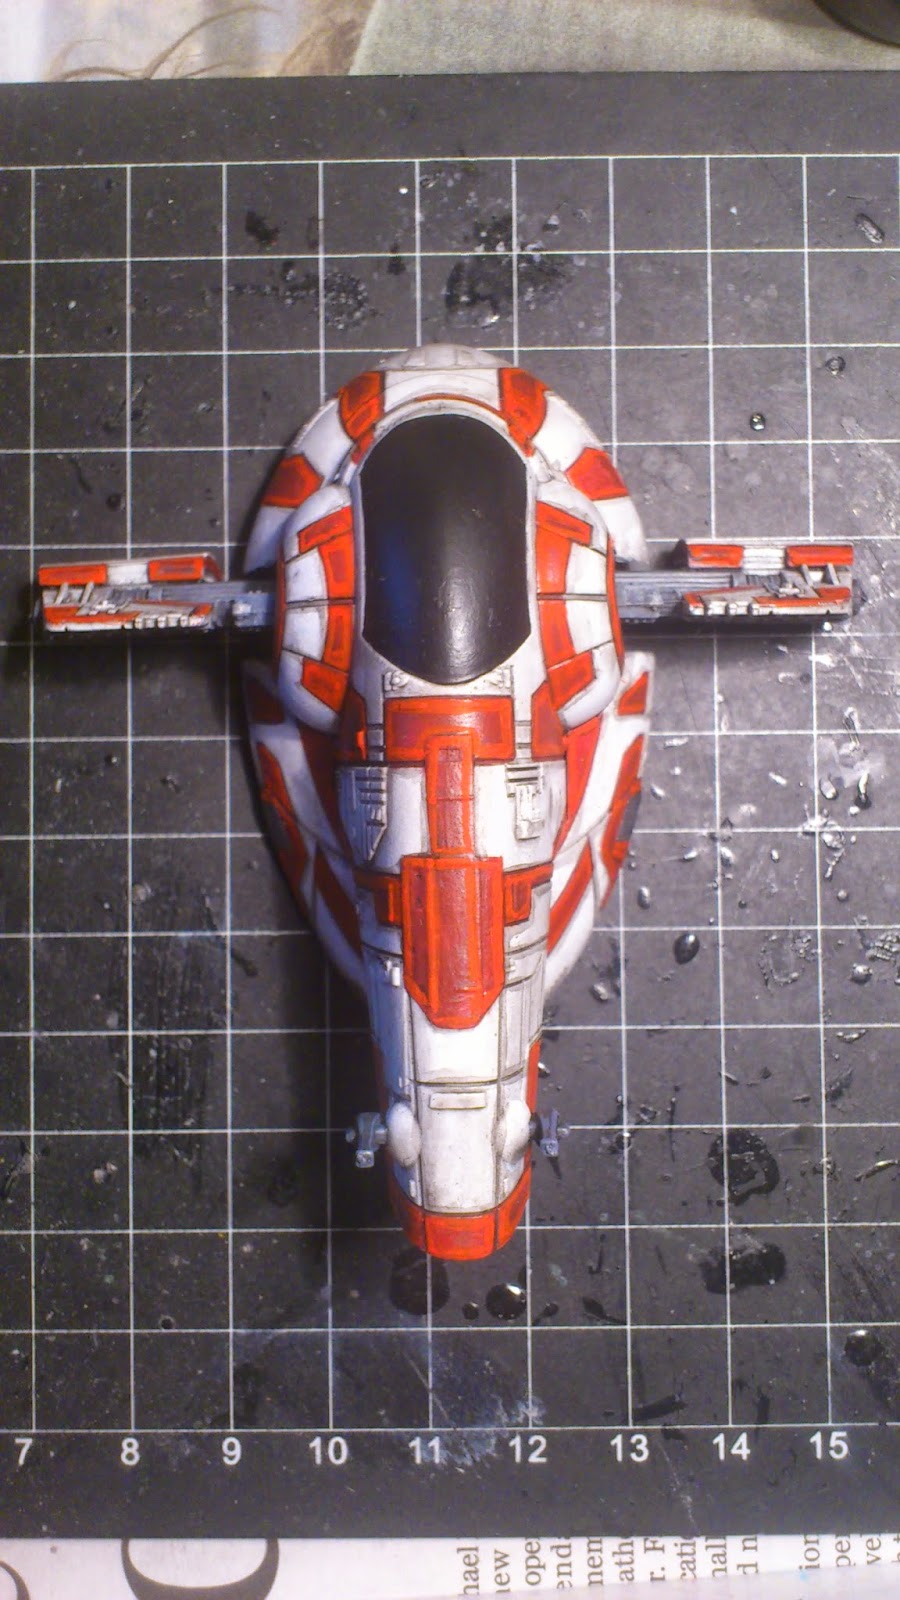
 |
| The stock Firespray |

 |
| There's a huge unseemly mold line |
This wasn't actually a big deal as cleaning mold lines is a prerequisite for most miniature models. Just annoying.
So I started by cleaning the mold lines with a combination of a hobby knife and a hobby file.
 |
| Mold lines removed |
I then proceeded to the actual painting.
The Basic Colours
 |
| The main colours used |
I applied 2 coats for a nice smooth coverage.


The Dirty Bit
I dirtied up the ship by liberally applying a wash of GW Agrax Earthshade all over model.


The Highlights
I then started the first set of highlights. Similar to my other repaints I don't bother with actual blending, instead I simply painted the edges of each panel a slightly brighter colour, in this case 1:3 of GW Ceramite White to VJ Gunship Green. I left the middle of each panel the base green colour.
I then repeated the process but this time with a 50:50 mix of green to white. Here I painted the same edges but made sure to leave the previous highlight visible.
This creates a colour progression of dark green in the middle to light green on the edges of each panel.
It looks pretty rough at this stage but will be fixed later with washes.


Using a detail brush I then applied edge highlights to all the green panels with a 3:1 mix of GW Ceramite White to VJ Gunship Green.
This creates a more extreme contrast.
I left the top and bottom armour panels the stock factory grey. However to emphasise it more I applied an edge highlight of GW Fortress Grey.


The Washes
Here I tidied up the rough highlights by washing all the green parts with GW Thraka Green wash. I applied 2 coats for a consistent finish.
This dulls down the previous extreme contrast to create the impression of subtle blending without actually doing any blending. This fits in with my low effort high impact motto of painting miniatures.


The Detail Work
To help bring out the red parts I used several coats of GW Bloodletter glaze.
Similarly for the yellows I used GW Lamentors Yellow.


I really like the horned skull personal heraldry that Boba Fett proudly display on his armour. I wanted to recreate this on the Firespray so I departed slightly from my movie-accurate paint scheme to hand paint the logo on the right stabiliser fin housing armour panel where I left it stock grey.
Using VJ Fire Red, a small detail brush and a steady hand I carefully painted on the horned skull. I lined the top and bottom of the armour panel with diluted GW Iyanden Yellow to bring in the colour reminisce of his armoured shoulder pad.


The Engine Glow
For the engine glow I wanted it to be movie accurate so I experimented with a combination of red, yellow and white paint with the airbrush until I got the desired hot orange burn effect. This was purely trial and error.


The Finish
I then sealed the model with VJ Matt Varnish using my airbrush.

And that is it!
The Reveal
Behold the one and only Boba Fett!:


 |
| Boba Fett at the head of a bounty hunter armada |
 |
| Getting the jump on an unsuspecting YT-1300 and its escorts |
Now I can't wait for the release of Scum and Villainy which should make Boba to be feared on the tabletop (to match his reputation).
Alright that's all I got this week. Stay tuned and keep flying casual!
 |
| Sweet dreams.... |